To continue moving toward implementing a CI pipeline, you will now create the file required by GitLab to configure the pipeline.
In your VSCode Terminal, use the code keyword to open a YAML file called .gitlab-ci.yml.
GitLab looks for this particular hidden file in a repo to leverage its CI/CD pipeline feature.
code -r /home/cisco/CiscoLive/LTROPS-2711/.gitlab-ci.yml
This hidden file defines the pipeline and the stages to run. Your pipeline for this lab will have three (3) stages defined: lint, deploy, and test.
yamllint to check your repo for correct YAML formatting, ansible-playbook --syntax-check to validate the syntax and structure of your previously created playbooks, and flake8 to validate the syntax of your Python code.
As you populate and review the pipeline below, make note of the only and except keys.
These dictate which stages are run against which branch or not run against a branch.
As done in this lab, typically it is the main branch that is used with these keys. For example, when you want the pipeline to run against your staging setup, then you'll notice that except is used so that a particular step is
not run on main. On the contrary there are steps only applicable for prod, thus the only key is used to specify main.
The last two pieces to this pipeline is the usage of the only key to also control when the pipeline is run. For example, you could have the pipeline run against staging every single time a commit is pushed to the repo. Depending on your devops process,
that may be required, but for this lab, only will be used to control the pipeline running when a merge request is created. A merge request will be expanded on in the next section, but in short, this is the process of merging your code from another branch,
such as your staging branch in this case, into main. The other piece is the script key that defines a list of the commands to execute to run your automation. These commands should look familiar to you as you have been doing these manually up to this point in the lab.
Copy and paste the GitLab CI file into your open .gitlab-ci.yml file in VSCode:
      ---
      image:
        name: mtarking/cait:23.1

      variables:
        ANSIBLE_HOST_KEY_CHECKING: 'false'
        ANSIBLE_FORCE_COLOR: 'true'
        ANSIBLE_PERSISTENT_COMMAND_TIMEOUT: 100
        ANSIBLE_PERSISTENT_CONNECT_TIMEOUT: 100
        CXTM: 10.0.205.11
        PROJECT_NAME: LTROPS-2711

      stages:
        - lint
        - pre-tests
        - config-changes
        - post-tests

      yamllint:
        except:
          - main
        only:
          - merge_requests
        stage: lint
        script:
          - echo "Checking YAML files"
          - yamllint -d relaxed .

      ansible-syntax-check:
        except:
          - main
        only:
          - merge_requests
        stage: lint
        script:
          - echo "Checking Ansible playbook"
          - ansible-playbook --syntax-check -i ansible/hosts.yml ansible/playbook.yml

      flake8:
        except:
          - main
        only:
          - merge_requests
        stage: lint
        script:
          - echo "Checking Python Files with Flake8"
          - flake8 --max-line-length 120 tests/*

      baseline-pre-tests:
        except:
          - main
        only:
          - merge_requests
        stage: pre-tests
        variables:
          BATCH_NAME: "LTROPS-2711 Topology System Batch"
        script:
          - echo "Tests before config changes"
          - python3 tests/cxtm-pipeline-script.py --cxtm $CXTM --project $PROJECT_NAME --batch "$BATCH_NAME"

      deploy-config-changes:
        except:
          - main
        only:
          - merge_requests
        stage: config-changes
        script:
          - echo "Deploy to config changes to test network"
          - ansible-playbook -i ansible/hosts.yml ansible/playbook.yml

      baseline-post-tests:
        except:
          - main
        only:
          - merge_requests
        stage: post-tests
        variables:
          BATCH_NAME: "LTROPS-2711 Topology System Batch"
        script:
          - echo "Tests after config changes"
          - python3 tests/cxtm-pipeline-script.py --cxtm $CXTM --project $PROJECT_NAME --batch "$BATCH_NAME"

      routing-post-tests:
        except:
          - main
        only:
          - merge_requests
        stage: post-tests
        variables:
          BATCH_NAME: "LTROPS-2711 Topology Routing Batch"
        script:
          - echo "Tests after config changes"
          - python3 tests/cxtm-pipeline-script.py --cxtm $CXTM --project $PROJECT_NAME --batch "$BATCH_NAME"
After successfully populating .gitlab-ci.yml with the above connection information, save your .gitlab-ci.yml file using Ctrl+s on the Windows keyboard or by clicking File then Save.
Be sure to save your file! Not saving will result in your code not executing.
After initializing your Git repo and creating the files specific to your prod fabric, it is time to add these files with Git in preparation for commiting them to the repo.
You perform the action of adding files with git add. You will add your ansible and tests directories.
You'll also add your .gitlab-ci.yml file.
      git add .gitlab-ci.yml
      git add ansible/*
      git add tests/cxtm-pipeline-script.py
With your directories and files added, you can now commit them to your Git repo with git commit.
The -m option is for a comment/message for the comment.
git commit -m "Initial config change testing commit"
Finally, with your project directory initialized as a Git repo, your files added and committed, you can push everything to your Git repo on the GitLab instance.
git push -u origin config-changes-testing
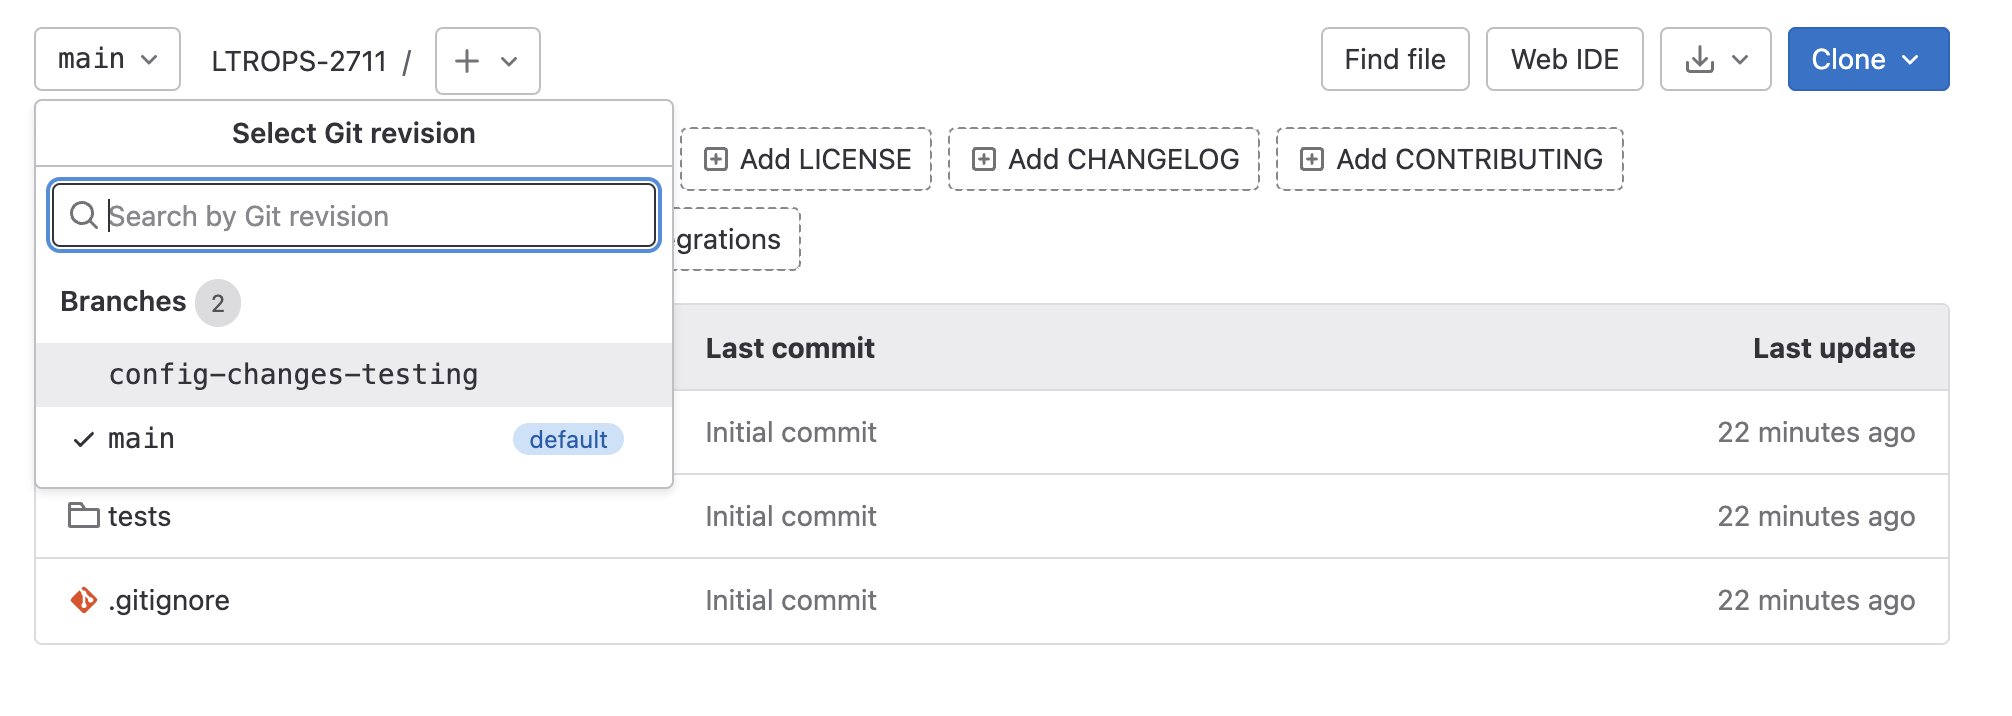
Return to GitLab. Your may have to refresh the browswer window. Your GitLab repo should now looks similar to the screenshot below with the directories and files you just pushed now stored in source control:

Continue